Sunday, 16 September 2012

Ralph and Alastair, no they aren't a posh gay couple.


While most of time of late as been taken up with painting my LRDG list, i've been trying my hand at sculpting. A pal of mine lent me some green stuff  year or so back do add some pipes connector boxes to my nebelwerfers after i'd seen John Boultwoods aka WPB on the BF forums, later i found out that John hadn't used GS (he was using wire and plasticard), so in a roundabout way it's all johns fault, i then moved on to add tarps to my BAR light mkVI's, battlefront has a good how to so if you're interested check it out.
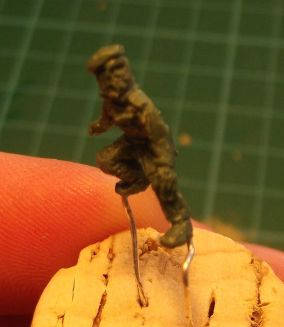
 I've been doing a lot of headswaps of late, with a limited amount of poses for the LRDG rifle teams and drivers/gunners, i've been messing around with the 8th army rifle platoon figures, removing bayonets, backpacks, adding trousers, converting mortar round carriers to satchel charges. So i've been playing with a lot of GS and as always had a bit left over, i got fed up of creating more sandbags and tarps. An thought i'll see if i can sculpt a head, so 15 heads later i was happy not only with the result but the size to, whilst creating them i thught if i can do that, maybe i can do the body to, after doing a bit of research on armatures. I got myself a pair of needle nosed pliers, some silver coloured brass/copper wire .3mm (i think) both from ebay for a few quid. I've found with Alastair (see below) getting the armature right first is very important for the pose (Ralph is standing bolt upright so the armature was quite easy), then after that, it's just getting the GS plastered on right.
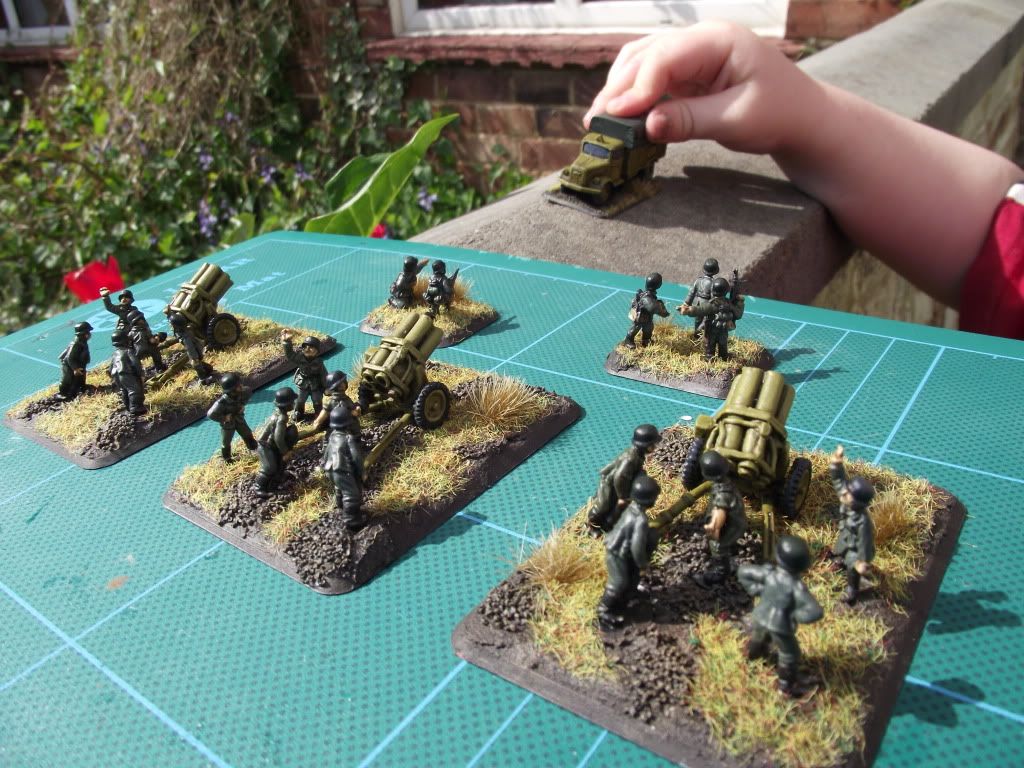

Greenstuffed pipes an connector box on the Nebs.
My son brings supplies in the opel blitz.
Ralph.
He's based on Ralph Bagnold creator/founder and first CO of the LRDG, also desert explorer and member of the zerzura club.
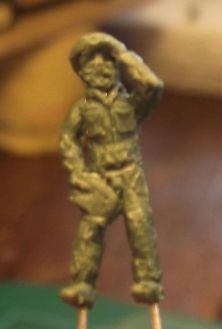
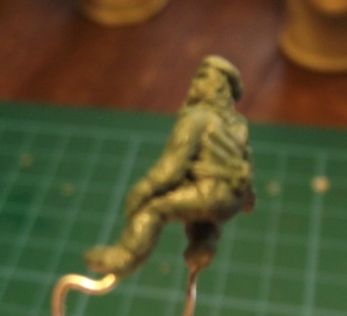
Bit blurred, apologies for my bad photography it covers up a multitude of sins. :)
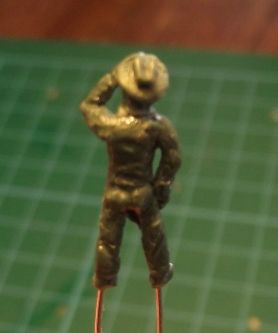
Alastairs based on Alastair timpson he became CO of G-Patrol LRDG after Michael Crichton Stuart was injured, he was commanding G-2 when the descision was made to try and destroy and confuse the enemy by lobbing/placing satchel charges in the back of Italian trucks traveling along the Hon-Misrata road, in his book "In Rommels Backyard" he admits to only being able to place two charges after a lot of messing about with placing a roadblock further and further out into the road. He explains it a lot better than i can and it has an amusing ending when they get flagged by some italian truckers an try to fix their broken down truck.
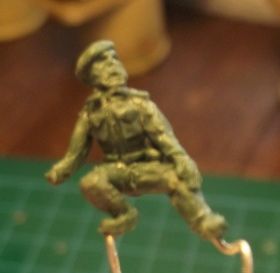
He's currently missing his satchel charge/hand from his arm, although i've sculpted them they'll get added when i mount him on some plasticard, he's supposed to be crouching behind a fuel drum, waiting for a truck to pass, he'll be made into one of my objectives.
Another blurred one, so you can't make out his holster or water bottle.
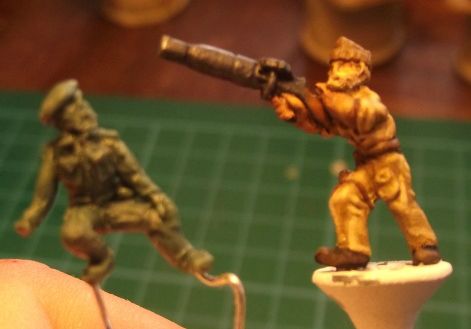
This shots for scale, with one of the lewis gunners from a chevy.
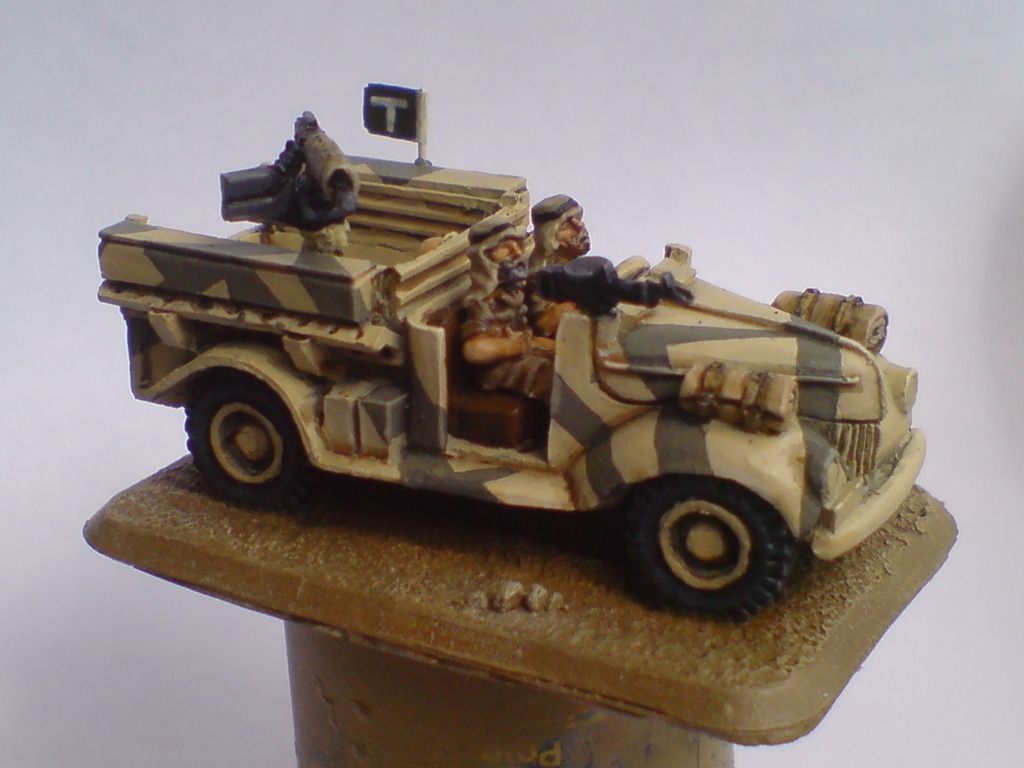
The aboves a photo of my LRDG HQ T-Patrol post the attack on Murzuq Fort. It wasn't until i took the photos that i realised i'd forgotten to add the extra m.g.'s to the rest of the half patrol. So this is just a taster.

Friday, 7 September 2012

Annatoli does it again.

Just a quickie, hot on the heels of last years release Annatoli expands the invasion of Poland with The September Campaign v.2 Orders of Battle book "Polish collapse"
http://anatolisgameroom.blogspot.co.uk/2012/09/the-september-campaign-v2-orders-of.html I've not had the chance to delve in yet, but after last years quality release and at 217 pages in length, it's gotta be worth a peruse and the 18.2mb's worth of drive space. Well done Annatoli. Ten out of ten for effort.

Monday, 27 August 2012

Oh the horror, a tale of woe (nothing like being a bit over dramatic).

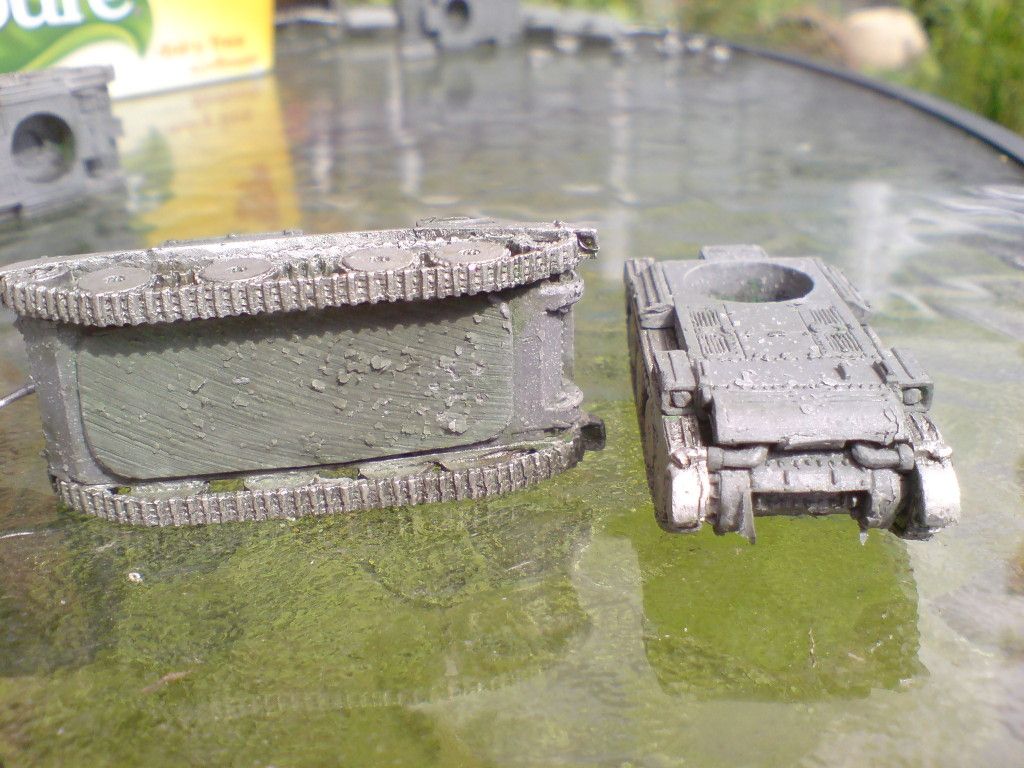
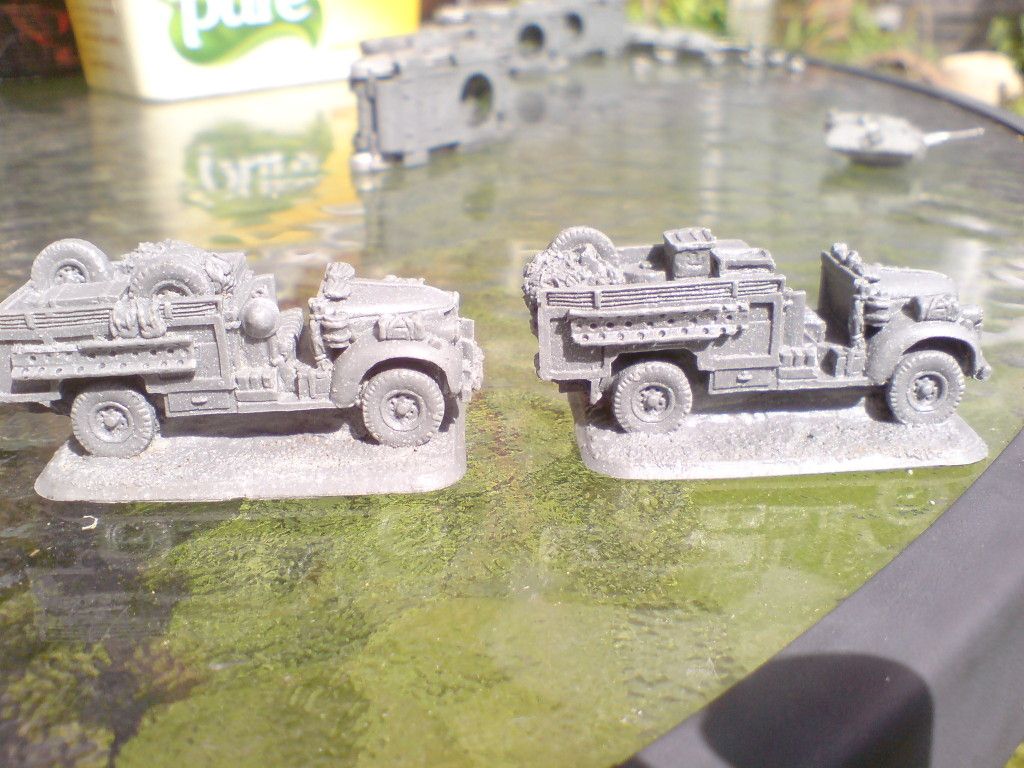
I've been an advocate of using dettol as a paint stripper for a while now, after a few days most of the paint comes away by itself, a quick scrub in a soapey bath with a toothbrush and the rest will come away all good I here you cry. However leaving your resin trucks and tanks in there for a few months, is not a good idea (don't say “no s**t, sherlock”, I can here you), if you're of a weaker disposition please look away now.


As I was crying into my milk yesterday afternoon, I explained what had happened to the boss, an she said (along with a sharp intake of breath) “well I could have told you that”, if only earlier.
So there's my tale of woe, heed my warning, lest ye get a visit from the resin eater... 

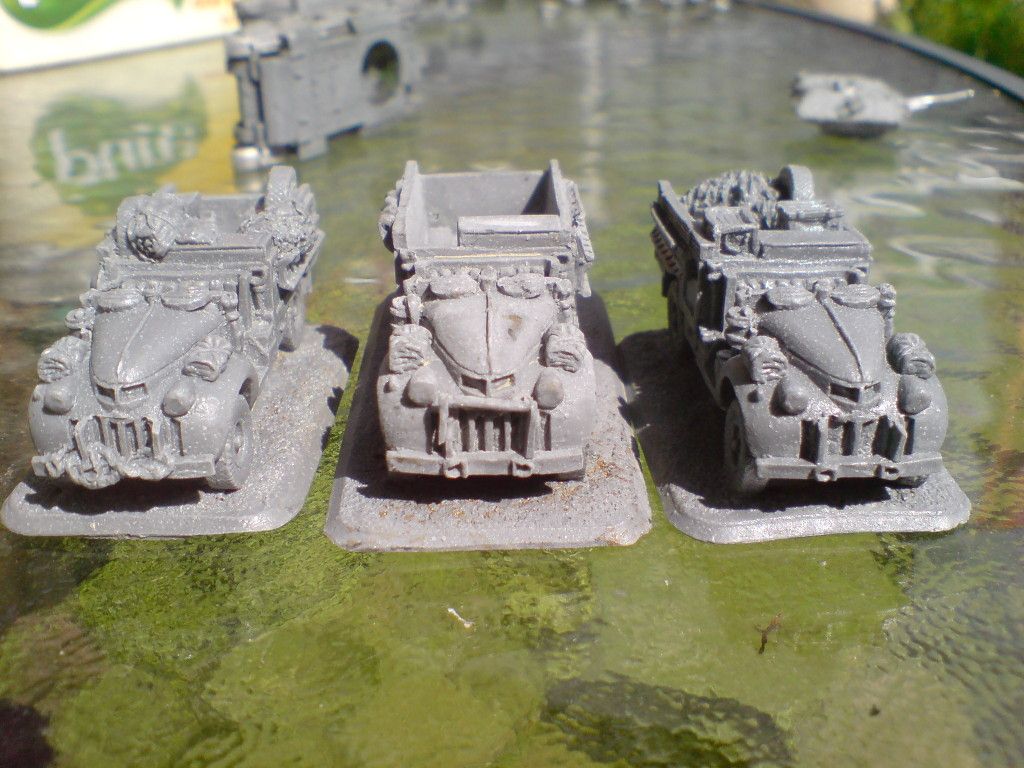
 Won't get much purchase on those sand channels.

Hey dude, love that surface pitting.

Never liked the bull bars anyway, those engines'll be overheating without any pipes running to the condensers... :)


Saturday, 21 July 2012

Stripping with fairy

No it's not my new late night activity, although... Anyroad it's been a while since i last posted, just a quickie for now, hence no pics.
My latest discovery for paint stripping, Fairy Power Spray, i've been looking for something fast acting, unlike dettol. I'm converting and head swapping a load of my LRDG troopers, to give them that individual look, with the prospect of twenty small stand rifle teams and only 3 different poses to work with, i thought i'd do some chop and change. A pal (cheers Mike AATW) has given me some bailed out british figures, i can whip their bereted heads off (vive le republic!), but they're painted an needed a bit of a clean.
So too business.
I sprayed it on the figure in question, white metal (i'm sorry to say i can't give any plastics advice, but i've heard it works on resin), it started too work almost straight away, i took a toothbrush too it after 5 mins and with a bit of effort it came away, i sprayed more on and left for another 20 mins same process and it came away with less effort, it washes of with a quick water bath, unlike dettol. Result! So for a fast acting stripper (Dita von Teese, hhhrrrrrrr) give it a shot.
Til next year...

Saturday, 24 September 2011

The cavalry's coming, I hope you brought your goggles...

With the advent of War in the desert comes dust clouds, they give concealment to anyone targeted through them (+1 to hit).  
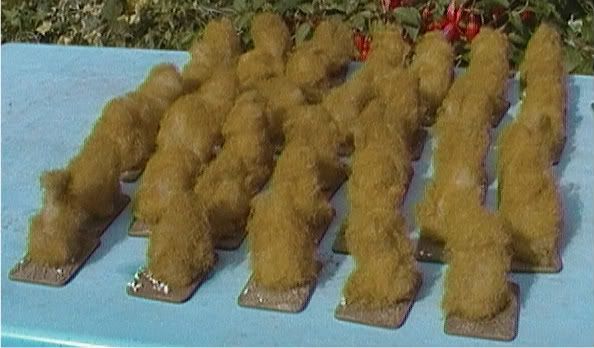
With every move by a vehicle over 4”-12"a medium base sized amount of dust is produced and a marker is placed immediately behind said vehicle and any move over 12” or part thereof, another is produced. My new army can lay out with it's 24 tanks and 3 armoured cars their own dust storm,
A9 2x2 = 4 markers (tank 12” move, doubles 24”) Unreliable
A10 3x2 = 6 markers (slow tank 8” move, doubles 16”) Unreliable
A13 8x3 = 24 markers (tank 12” move fast tank doubles 32”) Unreliable
Mk VI 14x3 =42 markers (half tracked vehicle on hard desert 16” move, doubles 32”)
AC 3x3 = 9 markers (wheeled vehicles on hard desert 16” move, doubles 32”)
So that's potentially 85 markers, a lot of dust. However i'm not likely to ever need that many, all those unreliable tanks breaking down without a recovery vehicles isn't a good idea, as I found out in the two games i've played with them. 


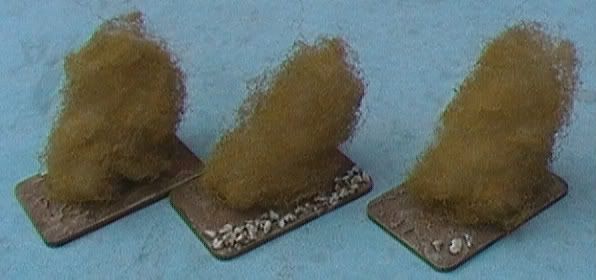
I wasn't going to do a “how to” as BF have done two, one you can find on their site and the other in “Hellfire and back” I thought i'd kind of document it all the same. No pre-painted pictures i'm afraid, I didn't think about pics or documenting until i'd started painting, so there's a little blurb below. The HF&B “how to” is spot on the only part I found difficult was using straight white paint on a naturally occurring item, but I got over it (sort of).


First off, bases, I picked up a load of the mdf medium size bases from Ebay and as I read somewhere, they are easier to pick up (literally) than the official BF ones, cheaper too. Poundshop pre-mix plaster, this plaster is going to form the (for want of a better term) base of the base ie: the desert floor, so it makes up part of the visual, instead of being hidden under static grass, I prefer to use the cheap stuff it gives a grittier texture, the posh stuff gives a smoother feel and quick drying but this isn't what we need on this occasion. I picked up a basing tip recently, when first applying the plaster, dip the tool you're using in the water and use this to smooth out a thin layer, then add the rest, the watered down layer helps the bulk of the plaster adhere to the base, rather than it lifting off as you're sculpting. Once you've got a decent covering lightly drag the edge of the tool you're using over it, this helps to lift it a little and gives a more realistic surface and something the drybrushing during painting can pick up later. Then I added a few stones and other bits of balast just to break it up, glued down with a layer of PVA.

Painting sequence, basecoat English Uniform, 2 x light drybrush of desert yellow, drybrush buff, stones painted with a 50/50 mix of buff/white followed by a final highlight of white (shudder). Then a layer of matt varnish.


Teddy bear fluff Ebay £3.00 for 250gms (I probably won't ever need anymore of this, I barely touched it, unless I take up making teddy bears, although I need some more smoke markers, and I will make some Neb launching markers eventually), so you pull out what you need (use the photos for reference) it's then sprayed with War Paint's mid/late war Dunkelgelb code: SP04 this is the fun bit when the paint starts to dry out on your latex gloves and the fluff sticks to them, I am now a master at fluff tossing (ooer missus), once dry glue it down with pva to the bases weighted down with something not to heavy, I used the mainstay of the cutlery draw to stop the fluff from lifting off while dying. I forgot there's supposed to be a drybrush of buff on the fluff after drying, but i think they look pretty cool as is. And there you have it 40 dust cloud markers.


Sneak preview of the Mk VI sand guard conversion "how to".

Sunday, 18 September 2011

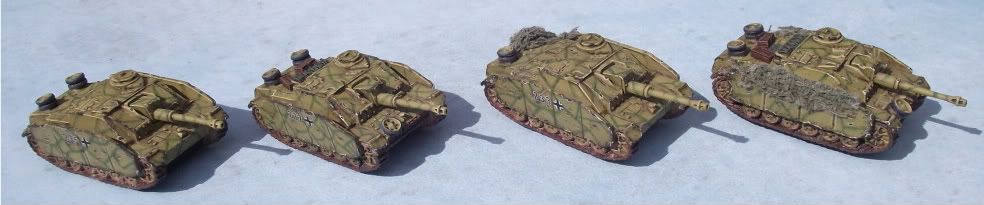
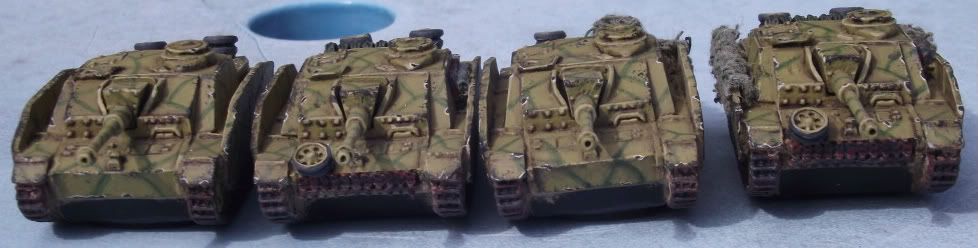
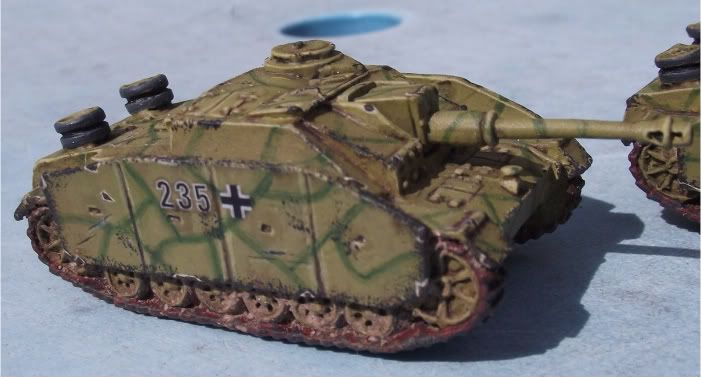
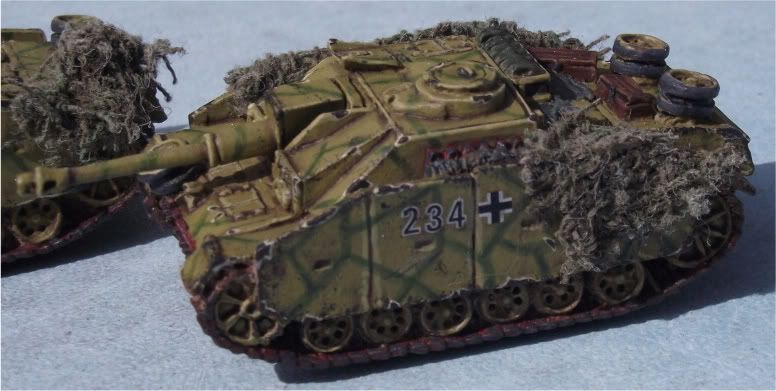
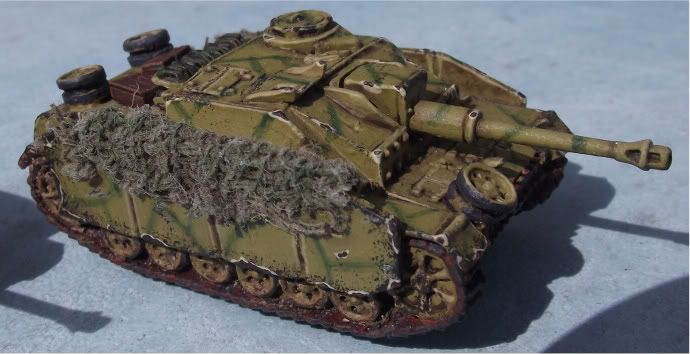
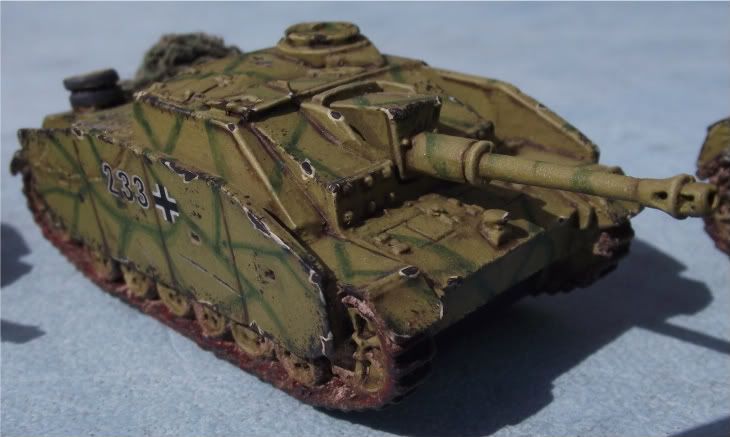
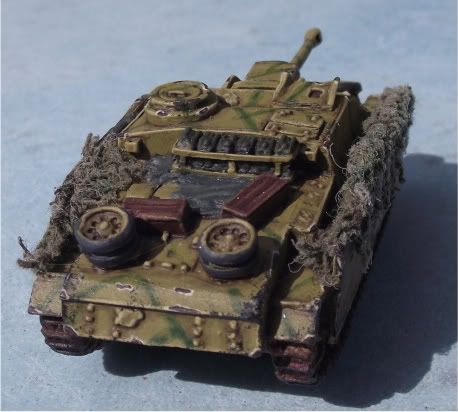
Stugs in Normandy.

Here's my first forray into painting armour, as i understand it this type of camo got more of a showing in Italy, but camo wasn't limited to a theatre, with movement taking place back and fourth, paint availability, a general leaving it up to the tankers for camo style meant that variation was the norm rather than exception. And having no air compressor, helped in my decision. :)


I wanted to model them on the Fallschirm-Sturmgeschutz-Brigade 12 but then realised the points would bust my 1750 army, also the 12th had stug IV's Saukopf mantel and not the Stug III g's that i have (from the "open fire" box set), in my studies i've found that the III g's tankers started to add a guard to the top of there guns as detritus that fell into the gap would stop the gun being traversed so high. So i wanted to convert, but never got the chance, i'd like to in the future and if the idea inspires anyone i think it'd be great to make them your own.


I've posted some of these pics up on the Flames site, but thought i could get away with a few more here (although the group shots are a bit small), i hope you like them, i certainly do. 


"the camo covers a multitude of broken shurzen sins"


And last but not least, nice rear ;)


Sunday, 4 September 2011

Result, not the lottery though.

I got two numbers on the lottery, not even a tenner eh. However i am a winner, a little while back the guys over at modeldads ran a competition for a new decal sheet for late war Normandy, they'll be producing it along with mustang games , and as a result (i think by default) i've won a copy of the new sheet. Which as it happens has landed at the right time, i recently bought myself some barbed wire from antenocitis and have been meaning to make some minefield and barbwire markers, the decal sheet includes some german mine warning signs. I'll also be able to use the St. Lo sign for a Fallschirmjager command stand. The road signs would probably look awesome on a well camouflaged pak40 poking it's nose down a sunken bocage lane, i do need some objectives, damn you modeldads and your inspiring ways.
Anyroad i've got enough projects to be going on with.
Cheers Modeldads.